Webhooks allow DMLY to send real-time data to your external systems whenever specific events happen inside your workspace.
Instead of manually exporting data, DMLY automatically pushes event notifications (like new messages, new contacts, tag updates, etc.) directly to your server endpoint.
A webhook is a real-time HTTP request sent from DMLY to your server when an event occurs.
For example:
A new WhatsApp message is received
A contact is created
A tag is added
A message is sent
A website live chat message arrives
DMLY immediately sends structured JSON data to your configured Server URL.
This is the easiest way to connect DMLY to your external system.
Navigate to Integrations
Click Webhooks
Click Connect
Click Add New Webhook
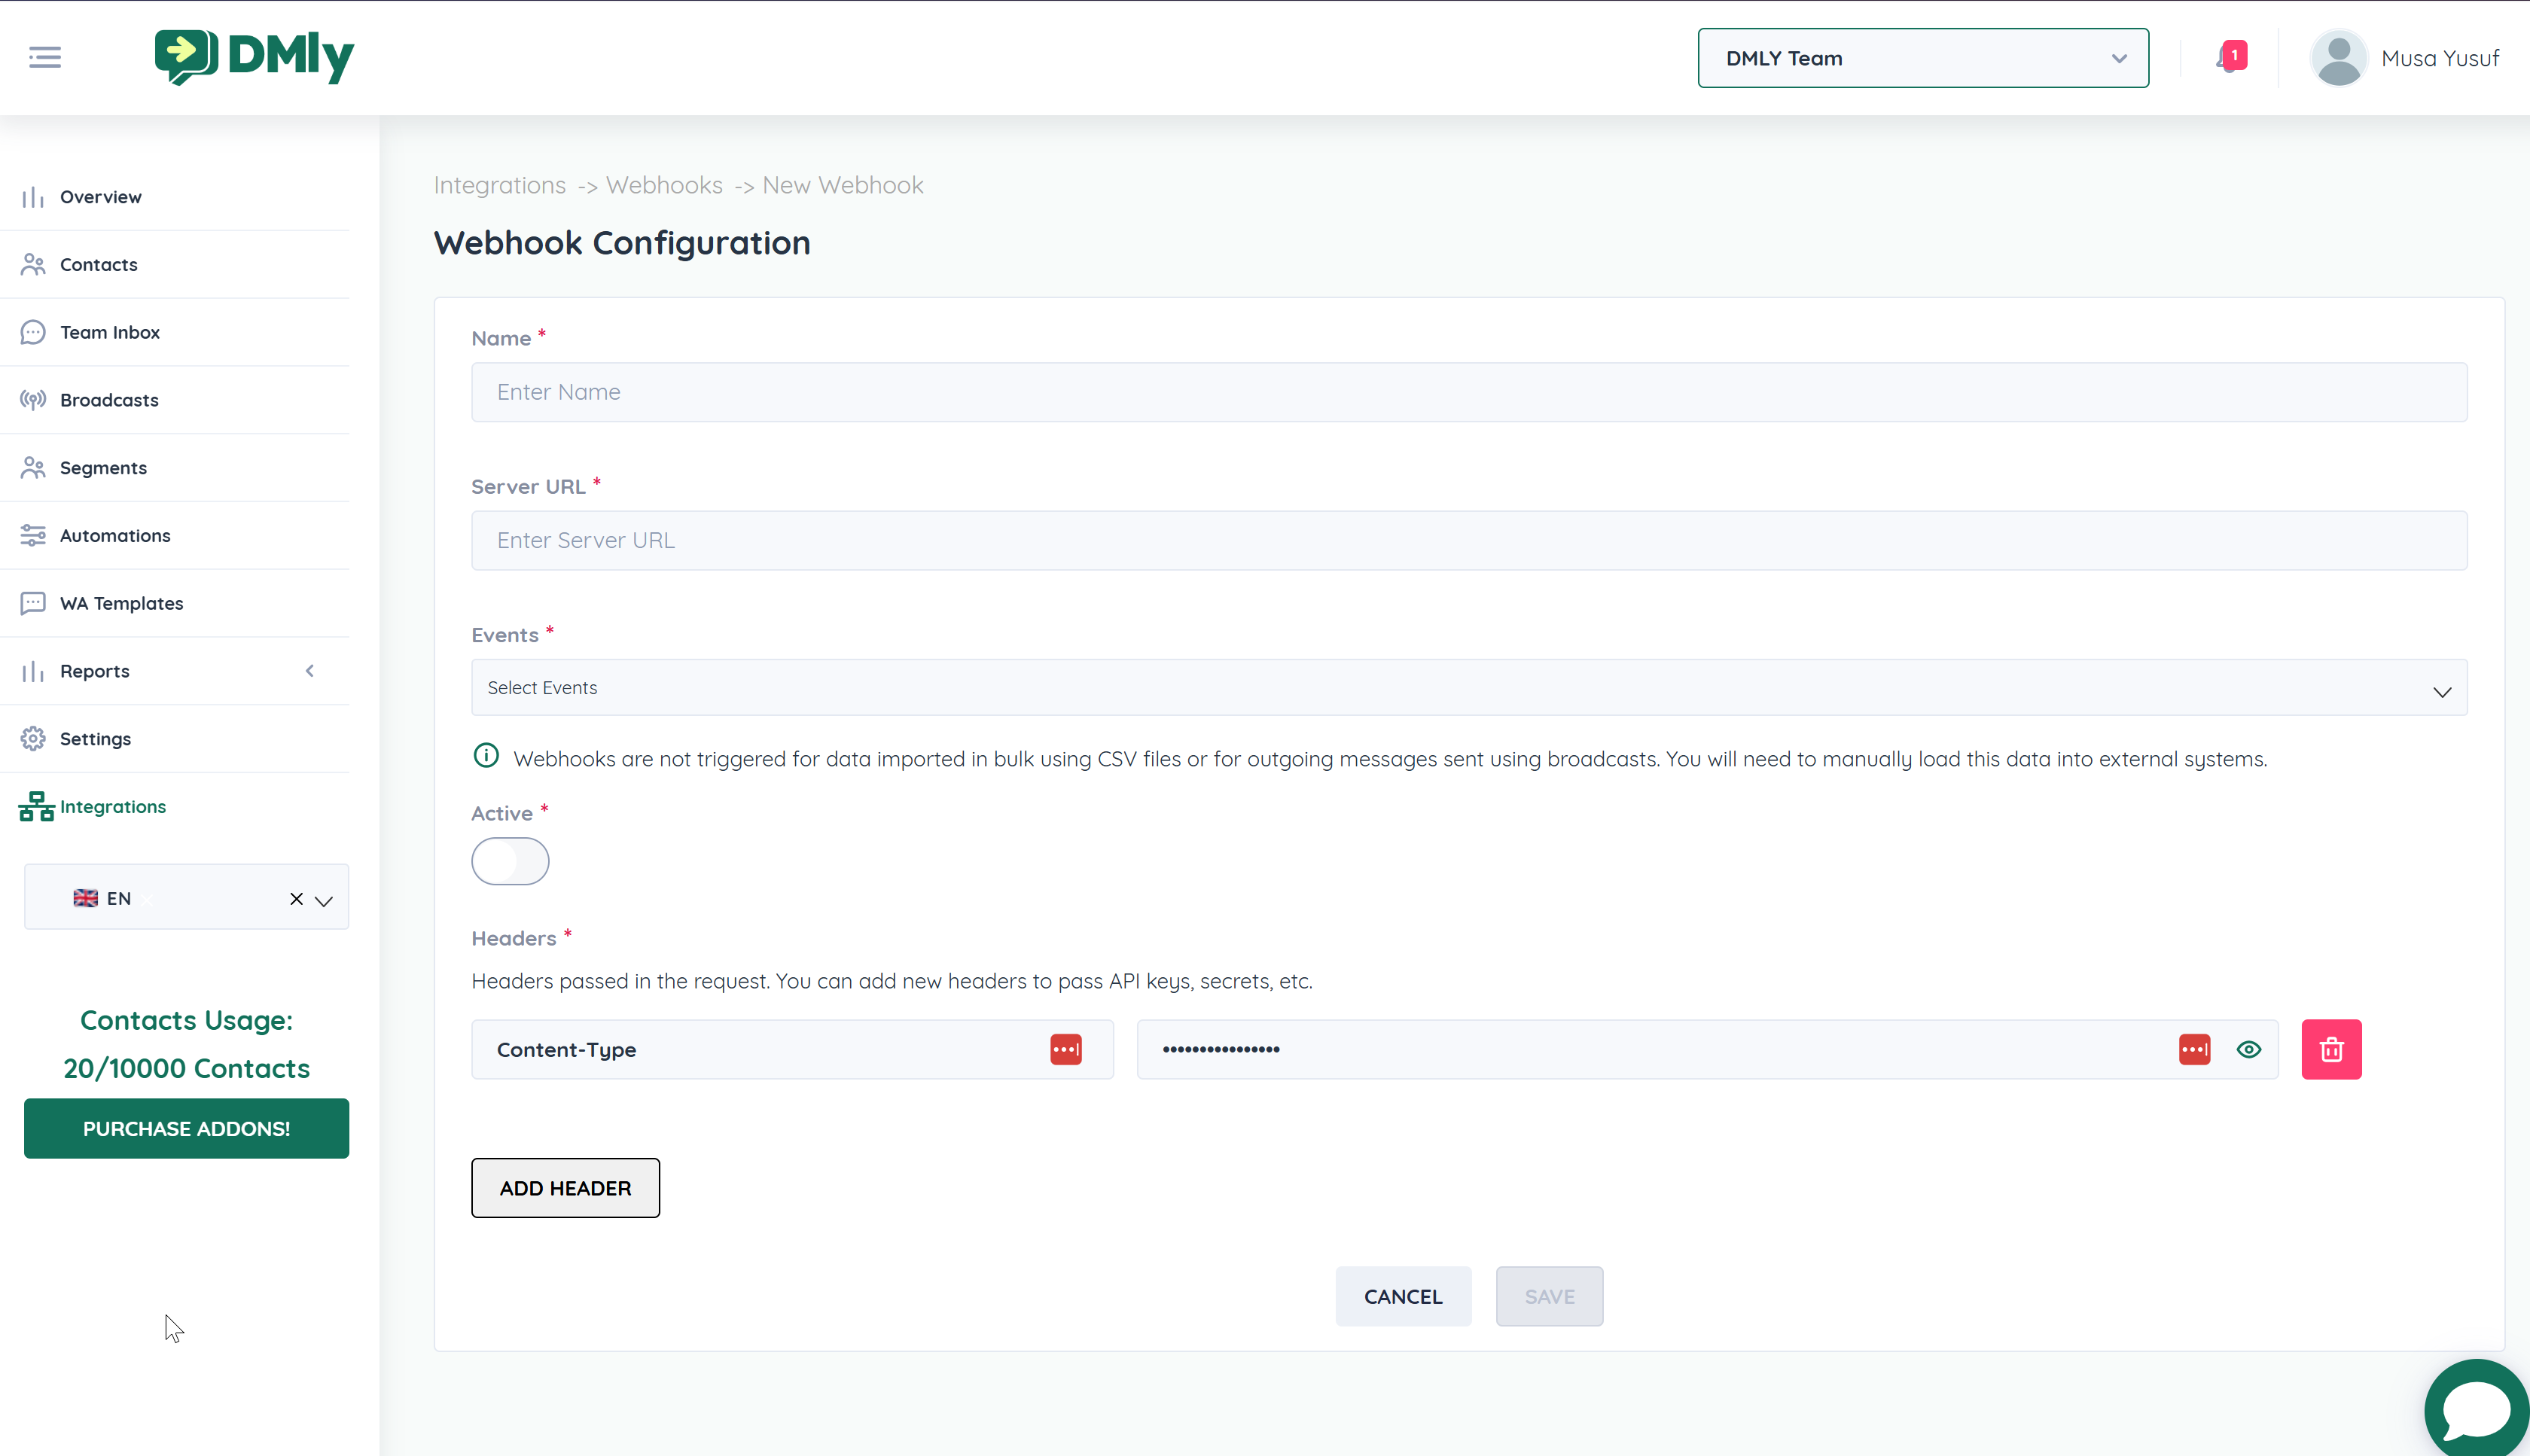
You will see the Webhook Configuration screen.
Give your webhook a descriptive name
Example:CRM SyncNew Lead Automation
Enter your server endpoint where DMLY should send data.
Example:
https://yourdomain.com/webhook-endpointThis must be:
Publicly accessible
HTTPS recommended
Select the events that should trigger the webhook.
Available events include:
Incoming WhatsApp Messages
Outgoing WhatsApp Messages
Incoming Instagram Messages
Outgoing Instagram Messages
Incoming Messenger Messages
Outgoing Messenger Messages
Incoming Telegram Messages
Outgoing Telegram Messages
Incoming Website Messages
Outgoing Website Messages
Contact Created
Contact Tag Added
Contact Tag Removed
Turn this ON to activate the webhook.
You can add custom headers such as:
Authorization: Bearer YOUR_SECRET_TOKEN
Content-Type: application/json
Click Add Header to include API keys or secret tokens.
This improves security and verification on your server.
Click Save once completed.
Your webhook is now live and will start sending event data to your server.
Webhooks are NOT triggered for:
Data imported via CSV bulk import
Outgoing messages sent via Broadcasts
Those need to be manually synced if required.
This method gives you full control over:
Custom JSON payload structure
Dynamic variables
Custom headers
Trigger conditions
RESTful request control
Perfect for advanced integrations or custom backend systems.
Click Add Rule → Choose Create Rule from Scratch
Example triggers:
When a Contact is Created
When a Tag is Added
When a Message is Received
Filter the trigger logic if needed.
Example:
Only if tag = "Lead"
Only if channel = WhatsApp
Choose:
Send Webhook
Select:
POSTEnter your webhook endpoint:
https://yourdomain.com/api/leadsCustomize your JSON body.
You can insert dynamic variables using #.
Example:
{
  "contact_name": "#contact.name#",
  "phone": "#contact.phone#",
  "channel": "#message.channel#",
  "message": "#message.body#"
}Use default headers or click Add Header to add:
Authorization: Bearer YOUR_SECRET
X-Source: DMLYClick Send Test Webhook to validate your configuration.
Your automation-powered webhook is now active.
Testing is critical before going live.
Go to:
https://requestbin.com
Sign up or log in.
Click Create Request Bin
This generates a temporary test webhook URL.
Paste it into:
Webhook → Server URL (Method 1), OR
Automation → Webhook URL (Method 2)
Examples:
Create a new contact
Send a message
Add a tag
Return to RequestBin and inspect:
Headers
JSON body
Event structure
Verify data matches your expectations.
Once confirmed:
Replace the RequestBin URL with your real server endpoint
Click Save
Always use HTTPS
Add authentication headers
Validate incoming requests on your server
Use secret tokens
Webhook logs help you monitor deliveries, debug issues, and verify whether your external system is successfully receiving events from DMLY.
If a webhook is not working as expected, this should be your first troubleshooting step.
Go to Integrations
Click Webhooks
On the top-right corner, click View Logs
This opens the webhook activity log panel.
The logs provide detailed information for every webhook attempt, including:
📅 Date & Time of the request
🌐 Target Server URL
📦 Payload sent (JSON body)
🧾 Request headers
🔁 HTTP Status Code returned by your server
❌ Error messages (if any)
✅ Success confirmations
Here’s how to interpret common responses:
Status Code | Meaning |
200 | Success – Webhook received correctly |
400 | Bad Request – Payload or structure issue |
401 / 403 | Unauthorized – Authentication failed |
404 | Endpoint not found |
500 | Server error on your system |
If you’re not seeing 200 OK, the issue is likely on your server side.
If your webhook fails:
Click the specific log entry.
Review the payload that was sent.
Check the response returned by your server.
Verify:
Server URL is correct
Endpoint is active
Headers (Authorization tokens) are valid
Your server returns HTTP 200
Expired API token
Wrong Authorization header
Server endpoint not public
Firewall blocking requests
Incorrect JSON parsing
SSL certificate issues
